Make-up highlighting has been around for some time now. I’m talking a long time. It seems to have hit the front page (literally) thanks to those Kardashian Sisters. Kim K is especially known for pics with a yellow or white mask like look. To us make-up addicts- this is highlighting.
Like you would with a highlighter pen and a text book, the principle is simple. You highlight or ‘brighten’ the areas that you want to draw attention to or the light to reflect and bounce off. Highlighting works hand in hand with contouring where light and shadows play off each other to create dimension and depth to your face. The right contour can give you the sharpest cheekbone and the straightest nose even if you were not born with it.
Highlighting correctly will make emphasise, accentuate and brighten the ‘highest’ points on the face. Those areas are normally the forehead, bridge of the nose, cheekbones, under eye area, brow bone, cupids bow and chin. If you are going all in, you can also highlight just under the contoured cheek. Here is a well publicised pic of Ms. Kanye West herself with her pretty famous highlight.
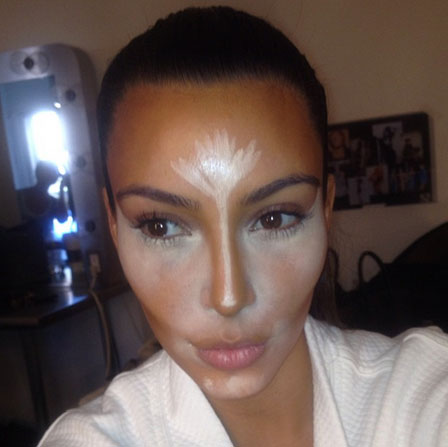
Photo Credit: Kim Kardashian. com / Glamour.com via Google Images
So does it work for everyone? It can do but here are some guidelines.
Beauty Holder, Beauty Tips!
- Know your undertone. You are going to highlight with a concealer, foundation, cream (whatever product you choose) at least 2-3 shades lighter than your tone. If you are a pink undertone, don’t highlight with a yellow concealer and vice versa. If you are neutral you have more options and can sometimes use both.
- Use a translucent setting powder or a powder the same tone as the concealer used above. It should be fine powder so that it does not just sit on the skin or in the fine lines.
- Press the powder into the skin. A cosmetic sponge is perfect for this. If you just brush it on, you will more than likely move the product underneath it and it can start to look cakey. Use a brush to dust off excess product.
- A very popular powder for highlighting is the Ben Nye Luxury Powders. Most use the Banana shade but they come in a variety of shades so find the right one. I also love the ELF and NYX HD powders and Nars and Cover Girl pressed powders.
- Stick to products for your skin type. If you use a powder because it works for your oily skin, then use powder products. If you use liquid then try and stick to liquid.
- Not completely contradicting the above or point 2, you can mix textures but more so to ‘set’ products so that they do not move. An example of this is setting your liquid concealer with a powder.
- Products with glitter and shimmer (as well as other ingredients in your powders or foundations) may cause some white light or flash back (I am sure that is not a technical term, lol). Especially in pictures.
- Practise at home and take pictures. You can adapt the principle to suit you. I cheat it. I highlight my under eyes with a concealer that is exactly the same shade as my skin and then use a lighter powder to set it. This way it does not look too light. I also make sure I blend the edges out well so it looks seamless.
I have to be honest, I am not a huge fan of heavy highlighting and contouring- that is coming up in another post. I do sometimes feel it can be to much when I see ladies walking around with white powder under their eyes. Especially my dark skin beauties. Kim K’s shade is not your shade. You do not need to go that light under the eye. When it goes wrong remember you are accenting this area and therefore drawing attention to it.
Take the time to look into the shades/ tones that compliment you if you are interested in this look. It is important to balance a strong highlighted look with contour so that you can add warmth to the face that may be masked by the lightness of a highlight but it is not essential.
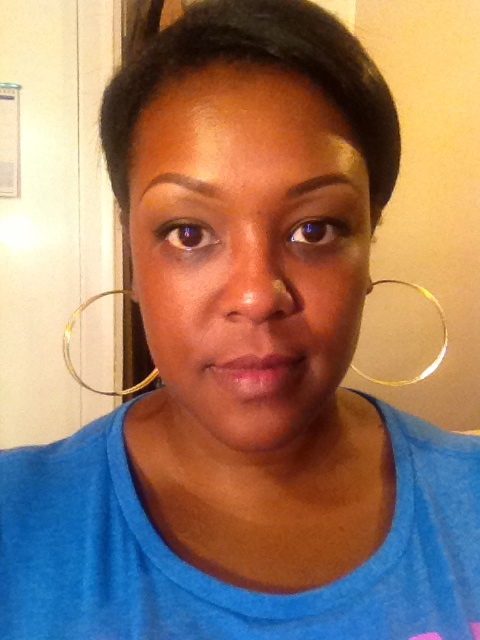
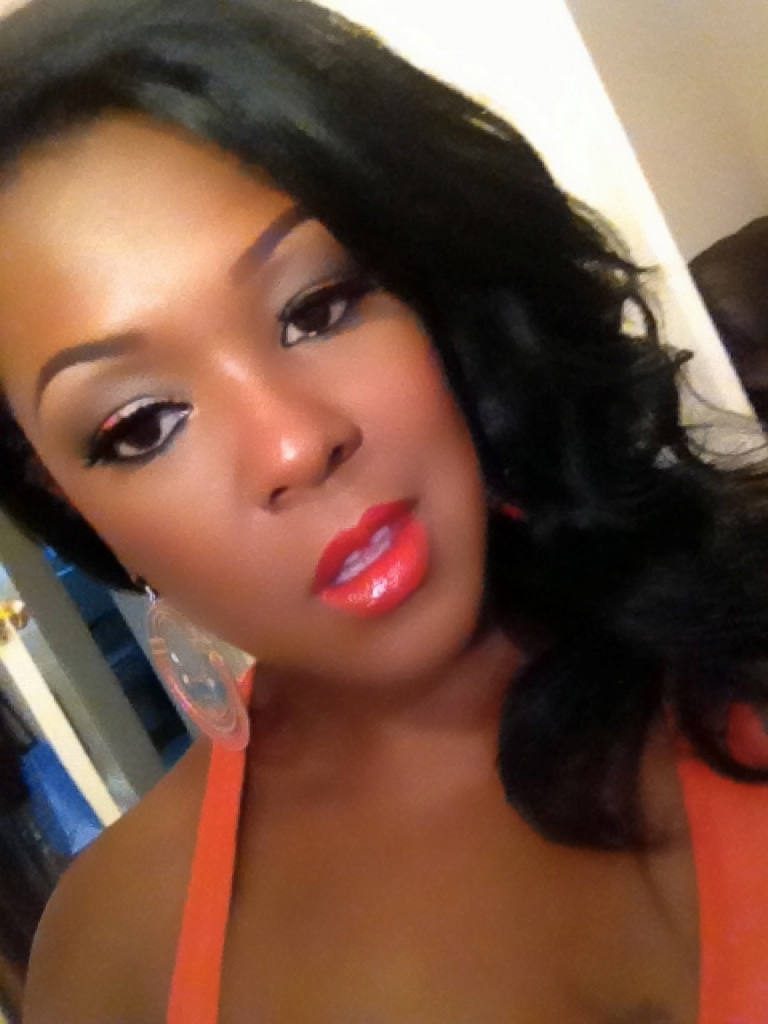
Here are some pics of me going through the highlighting process- my way! Most pics are indoors and some outside in the twilight (Team Edward).

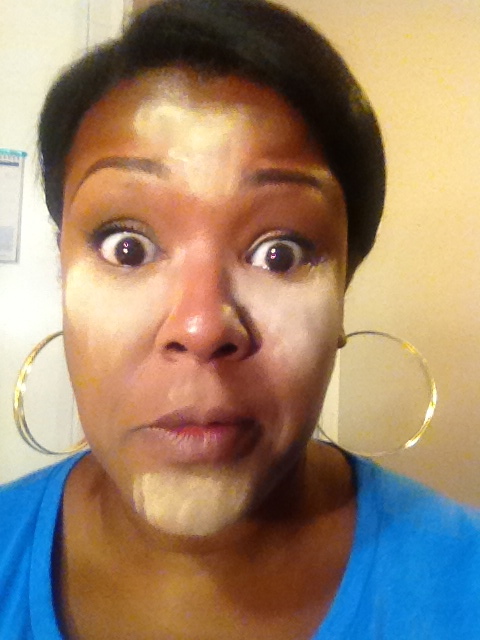


I have a longer face so I tend to conceal the area under my eyes a little past my cheeks. The triangle shape can be extended past the corner of your eyes right up to the hair line to give a real lift to the eyes! Try it!
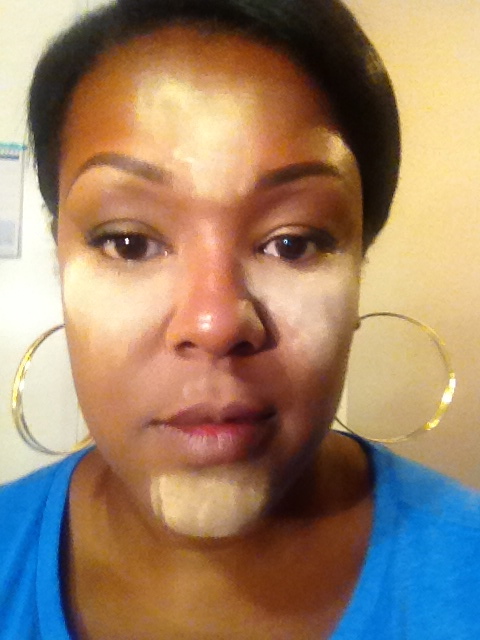
In this pic, I used a lighter concealer and powder and I think it is more noticeable
There are some great videos on YouTube on highlighting and contouring. Here are a couple of my favourites.
(Highlighting for Chocolate Girls)
I hope this was all useful for you. The power of make-up! I say no more.
Next blog posts will include:
Powder products for brows
Bridal looks
Makeup for the plane/ vacation and beyond
More you’ve been duped
Skin Care from your kitchen cupboard
Besos!
TBH! xoxo

Leave a comment