Hey everyone! Hope you all are enjoying your day no matter what the weather!
I have recently changed the way I do my brows! Nothing too spectacular but I wanted to share it with you. The very beautiful Etta from Etta’s Threads (please check out her amazeballs blog) this is for you! xoxo
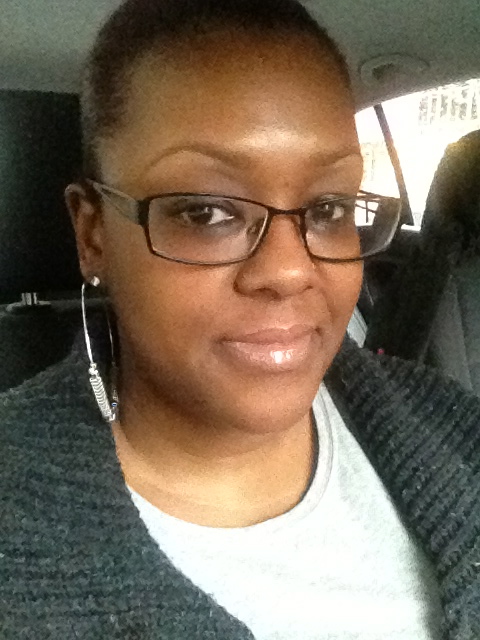
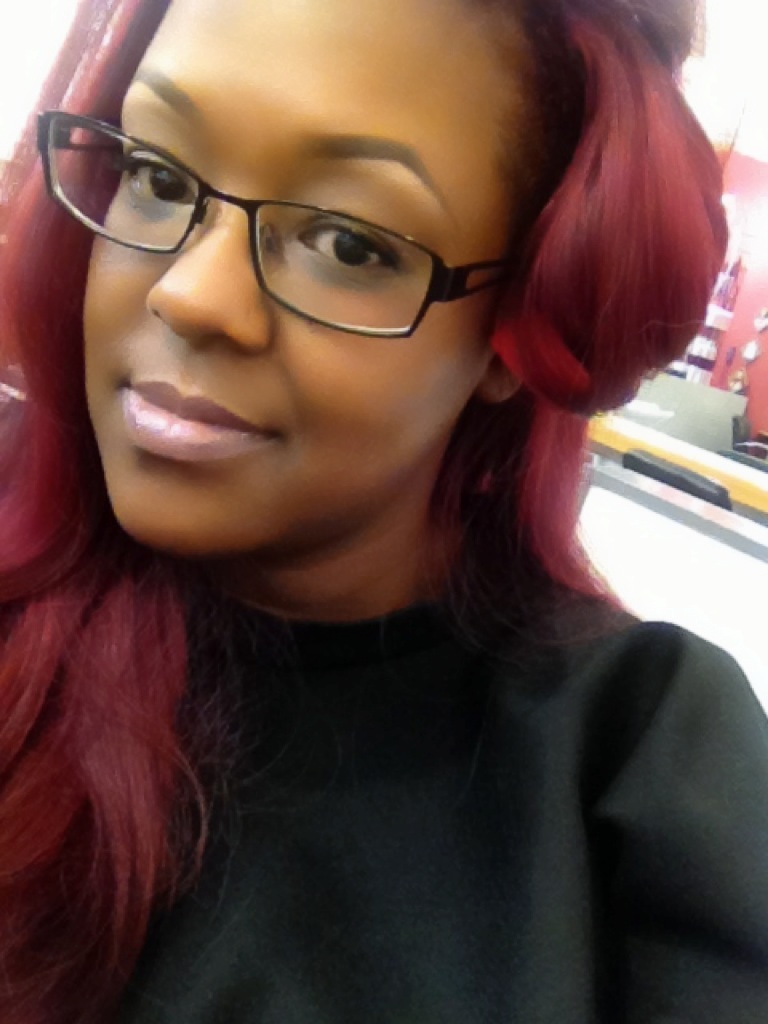
One of the first posts I did was about my brows. As I wear glasses daily, if I do not do my brows, then I tend to look a little flat. I normally do not leave the house without brows and lips. Brows and lips! My brow technique varies from time to time but I generally stick with either a ‘natural‘ brow or ‘defined ‘ brow.
My brows are threaded by my beautician every 5-6 weeks. She only removes new hair and leaves regrowth. My brows are very sparse and before getting into make-up, I would only have them threaded and that is it. I can see the difference a little powder or pencil makes to my brow and now cannot imagine going back to my old ways. My brow hair is really fine and light. Read on for more about the way I ‘create’ my brows. My fave brow products in the next post.
Natural Brow:
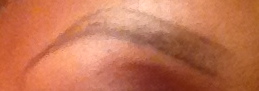
- Starting with a freshly threaded brow (or allowing for slight regrowth), I brush the hair using a spoolie, brush or mascara wand. I brush them up and across in the direction of growth.
- I then take either a pencil or powder (not both) and lightly fill in the sparse areas. Making short strokes to mimic hair. Again only on the area where needed. With powder I find a flat end brush or angled brush works well.
- Powder is a couple shades lighter than my hair colour or a medium brown.
- The end! 🙂
That is it. No pomp and circumstance just simple brows as seen below. If I find that I have a lot of regrowth that my highlight shade (normally a matt or shimmer neutral colour under the highest point of the brow) cannot hide then I use a little concealer. This, however, is reserved for my defined brow. My natural brow look works just as well as the defined one with little to no make-up on me. Everyone is different and you have to work to find a brow look that works well for you.
 Step 1.
 Step 3.
Defined Brow:
The difference with this brow is that I use both pencil and powder and also concealer. This brow is what I tend to rock with a full face of make-up and lashes.
- Start as above with step 1.
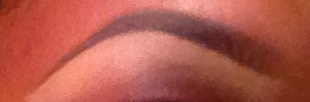
- Take your brow pencil and draw a line at the bottom of your brows from top to tail. If you do not have an end to your brows- create one. You will also be defining your arch at this stage so it could be a stretched out C shape or elongated V shape. Entirely up to you.
- Now draw a line at the top of the brows- connecting the tail.
- Take the pencil and in the same style as in step 4 above fill in the brows. As I am going for more definition, I then use a powder on top of the pencil so they are completely filled in. Beauty Holder Beauty Tip: If you want the gradient effect on your brows where they go from light to dark then consider using a lighter colour powder at the front of the brows.
- Take your brush or spoolie to brush off any excess products.
- Using a clean angled or flat brush and your concealer, make your brows sharp and stand out. Tidy up just underneath the bottom brow line.
- Blend out the concealer with your finger or brush.
- Continue with your eye make-up as normal.
 Step 1.
 Step 2.
 Step 3.
 Steps 4, 5, 6 & 7.
With my defined brow…
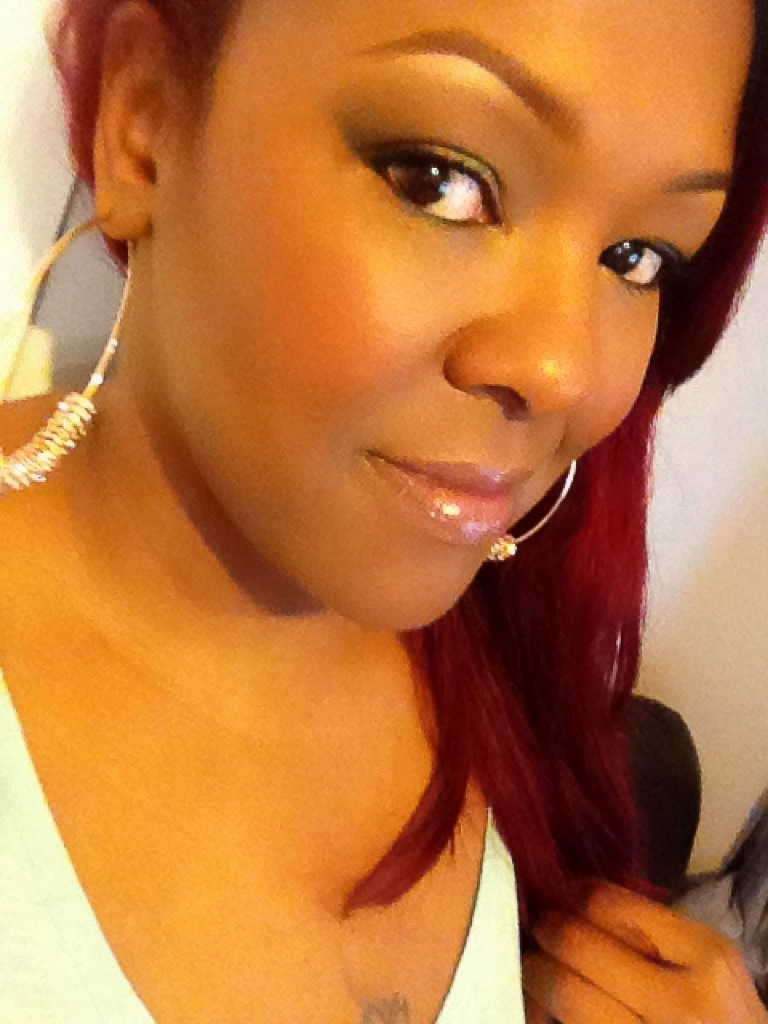

As I said above, you will find the best way to do your brows. Sometimes I work my brows around my hair. Sometimes around my make-up. If you have naturally full brows then you do not have to do too much. With anything, trial and error will lead you to where you need to be. Don’t forget the next post will be my brow products and tools.
Sorry some of the pics are not as clear as I would like them to be. I love taking selfies but this was a struggle! 🙂
Have a wonderful evening!
Besos!
TBH! xoxo
Got a special request you would like me to do? Get in touch…using any of the methods to the right!

Leave a comment